
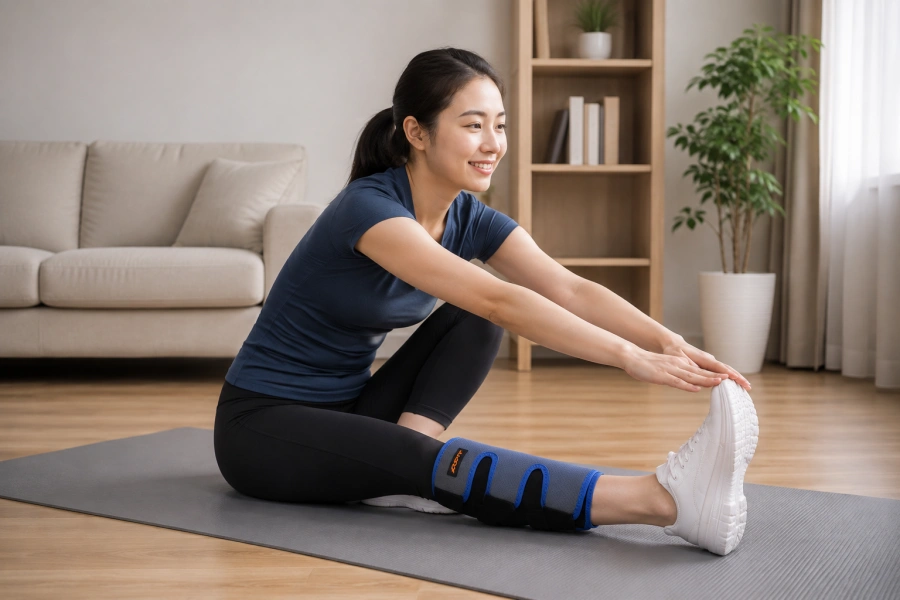
Standing in the medical supply aisle, staring at a dozen different leg brace options can feel more overwhelming than the injury that sent you there. Is an AFO brace what you actually need, or would a simple compression sleeve do the job? Should it feel snug or just secure? And once you have the right one in hand, how do you actually put it on without making things worse?
We’ll break down the eight most common types of orthopedic leg braces, match them to real conditions—from ACL tears to arthritis flare-ups to post-surgery recovery—and walk you through fitting, wearing, and moving safely. You get practical guidance, so you can get back on your feet correctly and comfortably.
What Is a Leg Brace and Who Needs One?
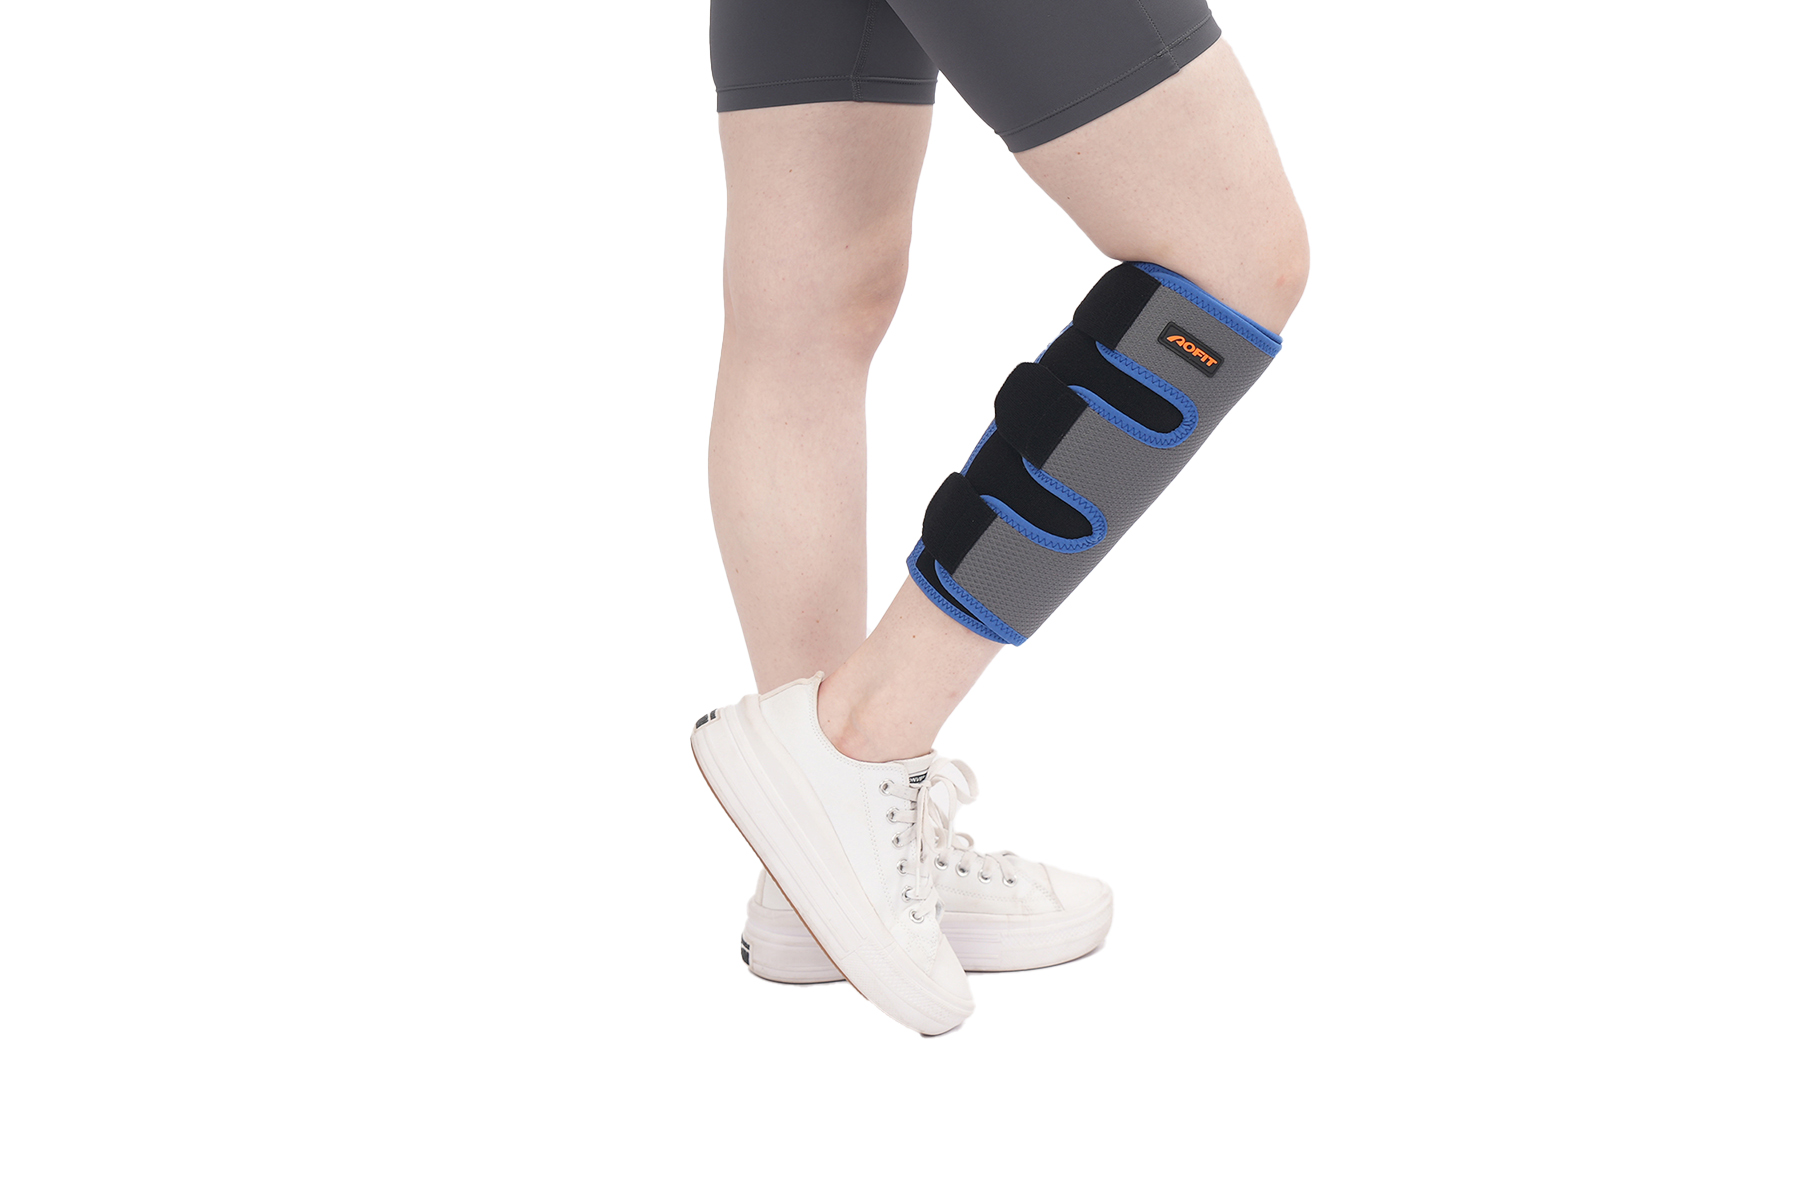
A leg brace is any external device strapped onto your lower limb to do one or several of four jobs: support, unload, compress, or protect. It sits over a joint like the knee, ankle, or hip, and each function serves a different purpose. Support keeps your limb aligned and limits motion you shouldn’t be making yet. Unloading takes pressure off an inflamed or injured joint. Compression manages swelling. Protection shields healing tissue from getting knocked around.
A knee brace is a subset of leg brace, built specifically for the knee joint. “Leg brace” covers anything from the hip down.
Who needs one:
-
Post-surgery patients protecting the limb during early recovery
-
ACL injury patients managing the tear conservatively or recovering post-reconstruction
-
Anyone with moderate to severe MCL/LCL instability
-
People with arthritis or chronic knee pain who need support for daily movement or sports
-
Fracture patients, pre- or post-surgery
-
Older adults dealing with balance issues or fall risk
-
Kids recovering from injury or managing alignment issues as they grow
If you fit any of these categories, skip the “do I need one” question and go straight to picking the right leg brace.
8 Main Types of Leg Braces Explained
Eight types of leg braces, from barely-there to fully locked down. Here’s the lineup, ranked from least to most restrictive.
-
Prophylactic Brace — Built for athletes in contact sports. It reduces impact and twisting injuries before they happen. If you’re searching for a sports knee brace for injury prevention, this is it.
-
Functional Brace — Designed for daily life and sports after a ligament injury. For an ACL, PCL, MCL, or LCL tear, this leg brace for a torn ligament keeps the joint stable during movement.
-
Rehabilitative Brace — Used after surgery or injury when the priority is limiting motion so tissue can heal. It’s a step up in restriction from functional braces, built for the recovery window.
-
Unloader/Offloader Brace — This one’s for arthritis. It shifts load away from the painful side of the knee, which shows up in searches for leg brace for arthritis and unloader knee brace.
-
ROM Brace (Range of Motion) — Hinged construction that locks your bend and extension angle within a prescribed range. Surgeons often prescribe these for progressive post-op recovery. Search terms: ROM knee brace, hinged knee brace.
-
Knee Immobilizer — Rigid, straight-leg design that holds the knee extended. Common after surgery or acute injury when zero bend is the goal. Look for knee immobilizer or post-op knee brace.
-
Walking Brace/Boot — Also called a walking boot, CAM boot, or fracture boot. It stabilizes the foot and ankle while allowing controlled weight-bearing — critical for fractures, severe sprains, and tendon injuries.
-
KAFO (Knee-Ankle-Foot Orthosis) — The longest and strongest brace on this list, running from the thigh down through the ankle and foot. Reserved for serious cases: paralysis, significant weakness, or gait control issues.
AFO vs. KAFO: Know the Difference
An AFO brace stops at the knee and works on the ankle and foot for issues like foot drop, gait correction, or ankle alignment. A KAFO goes further up the leg and adds knee control. Simple rule: ankle or foot issue alone, go AFO. Need the knee stabilized too, go KAFO.
|
Type |
Restriction Level |
Main Area Controlled |
Typical Use |
|---|---|---|---|
|
Prophylactic |
1/8 |
Knee |
Sports protection |
|
Functional |
2/8 |
Knee ligaments |
Ligament injury support |
|
Rehabilitative |
3/8 |
Knee/post-op tissue |
Recovery-phase protection |
|
Unloader/Offloader |
4/8 |
Knee load distribution |
Arthritis relief |
|
ROM Brace |
5/8 |
Knee flexion/extension |
Controlled-angle recovery |
|
Knee Immobilizer |
6/8 |
Knee extension lock |
Post-op/acute injury |
|
Walking Boot |
7/8 |
Ankle + lower calf |
Fracture/sprain stabilization |
|
KAFO |
8/8 |
Knee + ankle + foot |
Severe weakness/paralysis |
Match your symptom to the brace. A torn ligament calls for a functional brace. Arthritis calls for an unloader. A fracture calls for a walking boot. Get the category right first, then worry about sizing and materials.
How to Choose the Right Leg Brace for Your Condition?
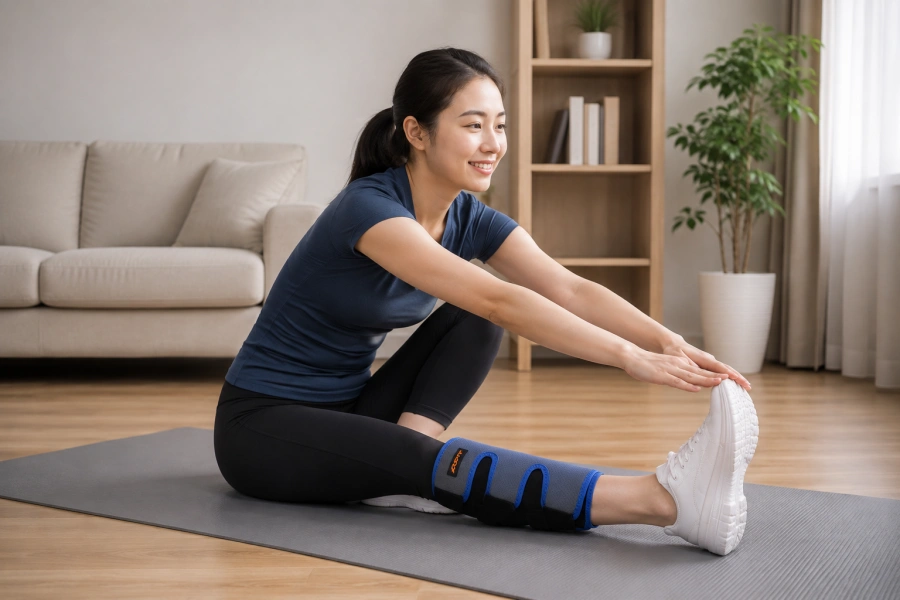
Start with pain and instability level.
-
Mild pain (1-3/10), some swelling, still moving normally: a compression leg sleeve or light elastic sleeve
-
Moderate pain (4-6/10), giving-way sensation, or patellar tracking issues: a wraparound brace or patellar stabilizer
-
Severe pain (7-10/10), an ACL/MCL/LCL tear, or a knee that buckles: a hinged leg brace for injury, or a prescription evaluation
-
Osteoarthritis, one-sided wear, pain when walking: an unloader brace; mild OA can often start with compression alone
-
Post-surgery, fracture, meniscus repair, or ACL/PCL reconstruction: an adjustable post surgery leg brace with ROM control
Follow the least-restrictive rule. Start light with a sleeve or strap, then move up to a stabilizer, hinged brace, or post-op ROM device only if symptoms demand it. Overbracing early can slow recovery by limiting normal joint movement your body needs to heal.
Adults vs. kids matters too. Adults do fine with standard OTC sizes: sleeves, hinged braces, unloaders. Kids and teens need closer sizing and more adjustment room since limb length and girth change fast during growth. Any congenital instability or post-op recovery in a child calls for professional fitting, not a shelf-bought brace.
When to skip DIY and get evaluated. Confirmed ACL/PCL tears, Grade II-III MCL/LCL sprains, any post-surgical protocol, or a body type that doesn’t fit standard sizing. These situations need angle-controlled, custom, or semi-custom orthopedic leg brace setups.
Step-by-Step Guide: How to Put On a Leg Brace?
Getting the fit wrong hurts worse than the injury. First: wash and dry your leg, loosen every strap, and check that the leg support brace is labeled for the correct side if it’s left/right specific. A thin sock or padding near bony spots and behind the knee cuts down on friction. Don’t skip this if your leg support brace instructions say so.
For a hinged ROM or hinged knee brace:
-
Sit with your knee bent around 30-45 degrees. That angle makes sliding the brace on much easier.
-
Open the brace fully and position it so the pads face your skin.
-
Center the hinge exactly at your knee joint line, with your kneecap lined up between the pads.
-
Fasten the strap closest to your knee first, then work outward — below-knee, above-knee, ankle, and thigh straps. Follow whatever numbering is printed on the brace.
-
Tighten evenly. You should be able to slide one finger between the strap and your skin comfortably. Tighter isn’t better.
-
If your brace has adjustable ROM stops, set them to your prescribed range.
-
Stand and walk a few steps, then recheck. The hinge shouldn’t have shifted or dug in behind your knee.
For a walking boot: seat your foot fully back before tightening. Close straps bottom to top, then check heel position and toe room. Watch for pressure points.
Common mistakes: hinge placement too high or low, wrinkled fabric bunching behind the knee, and overtightening that cuts off circulation. Get these three right and most fitting problems disappear.
Proper Fit, Tightness and Adjustment Rules
Correct tightness comes down to one test: the one-finger rule. You should be able to slide a single finger under any strap with slight resistance. Zero fingers means it’s too tight and a circulation risk. If two fingers slide in easily, it’s too loose to stabilize anything.
Recheck after you stand and walk. Braces shift during movement. Walk a short distance, then check three things:
-
Look: Is the hinge still sitting on both sides of your knee, centered on the joint line?
-
Feel: Run the one-finger test again at each strap.
-
Move: Bend and straighten slightly. Any sliding, rotating, or new friction points?
-
Inspect: Persistent redness, blanching, or a pressure line means readjust now.
Hinge alignment matters more than most people think. The hinge center needs to land right on your knee’s bend axis near the femoral condyles. Off by even a little, and you get slippage, rubbing, or restricted motion.
Stop if you notice:
-
Pain, numbness, or tingling. Loosen and recheck hinge position.
-
Worsening swelling, pale or bluish skin, coldness. Loosen, elevate the limb, reassess soon.
-
Can’t move your toes or sudden weakness. Seek medical care.
-
Symptoms that persist after loosening, blisters, rashes, or deep indentations. Contact a provider.
Run this checklist every time you wear your adjustable leg brace, not just the first time.
How to Walk and Move Safely With a Leg Brace?
Wearing the brace correctly is only half the job. Moving in it safely prevents falls and re-injury.
Walking basics: Take short, deliberate steps. Plant the braced leg firmly before moving the other one. Skip long strides, quick pivots, and sudden twists because they put lateral stress on a joint that’s already compromised.
Turning: Never pivot on a planted foot. Use small shuffling steps to change direction instead.
Stairs: Remember it this way: up with the good leg, down with the bad leg. Going up, lead with your uninjured side. Coming down, lead with the braced one. If you’re in a rigid knee immobilizer or a ROM brace locked at a set angle, hold the railing and take one stair at a time.
Standing up from sitting: Slide forward to the edge of the seat, plant both feet flat, and push off through your arms, not the braced leg. Pause 2-3 seconds once upright before walking.
Walking boots: These add height to one leg, which throws off your gait and stresses your lower back and hips. A shoe insert or heel lift on the opposite foot helps level things out, especially if you’re wearing one for more than a few days.
Leg Brace Sizing and Buying Guide
How to Measure for Sizing
For unloader and OA braces, two measurements matter more than knee size alone:
-
Thigh circumference, measured 15 cm above mid-patella
-
Calf circumference, measured 15 cm below mid-patella
Some custom-fit systems add a third landmark: knee center. Always measure at the exact spot the manufacturer specifies. One brand wants you 15 cm above and below the kneecap; another wants 6 inches.
Materials and Price by Leg Brace Type
-
Immobilizing braces: rigid plastic or metal uprights with a padded liner. $30–150 over the counter; custom versions cost more.
-
Hinged/ROM braces: aluminum or steel polycentric hinges with adjustable ROM stops. $60–300 OTC; medical-grade custom runs $300–900+.
-
Wraparound braces: neoprene or elastic knit with hook-and-loop closures. $20–80.
-
Compression leg sleeve: knit or neoprene with minimal rigid support. $15–60.
-
Full-leg support braces: aluminum or steel frames from thigh to calf. $100–500+.
Self-Measure vs. Professional Fitting
Sleeves and wraparound braces are safe to self-size at home. Anything requiring thigh, calf, and knee-center measurements, like unloader braces or custom orthopedic leg brace systems, is closer to a prescription fit. A clinician captures limb shape and joint alignment that a tape measure alone can’t.
Quick Shopping Shortlist
-
Maximum immobilization → rigid frame immobilizer
-
Controlled motion post-injury or surgery → adjustable leg brace with hinged ROM
-
Light daily support → wraparound or compression leg sleeve
-
Arthritis load reduction → unloader brace, professionally fitted
Special Considerations: Night Use, Sports and Long-Term Wear
Most leg braces aren’t meant for bedtime. Unless a clinician tells you otherwise, take it off before you sleep. The main exceptions are complete tears, fractures, or ankle-straining sleep positions. When night wear is prescribed, the goal shifts from stability to comfort. That means low-profile fit, pressure control, and rest.
Sports and injury ramp-up: don’t jump straight to full-time wear. Start with 1-2 hours the first day, adding one hour daily until you reach the prescribed schedule. Some clinics use two one-hour sessions on day one instead. For knee support, the NHS suggests starting at 30 minutes and building by 30 minutes a day. Redness after removal should fade within 15 minutes. If it lingers longer, get the brace adjusted.
Long-term wear means daily skin checks, morning and night. Keep skin clean and dry; skip lotions and oils, which soften skin and worsen blisters. Wear a clean sock underneath, changed daily or more often if you sweat. Wipe rigid or hinged braces after every use; launder simple sleeves two to three times weekly, or after every sweaty session.
Conclusion
Match the leg brace design to your actual condition — ACL tear, arthritis flare-up, or post-surgery recovery. Get the type, fit, and wear schedule right, and you’ll have a brace that speeds healing.